 |
| Eat me! |
Dig in. Delicious scariness.

|
| Eat me! |
 |
| Pete and Jen's Backyard Birds' Ground Pork |
 |
| Bonito Soup Base (I think) |


 |
| King oyster mushrooms |
 |
| Roasted garlic |
 |
| Peeled, chopped tomatoes |
 |
| Parmesan rind |
 |
| Cranberry beans |
 |
| Green beans |
 |
| White corn kernels |
 |
| Finished vegetable soup |
 |
| New Jang Su |
 |
| Dining Room |
 |
| The Banchan |
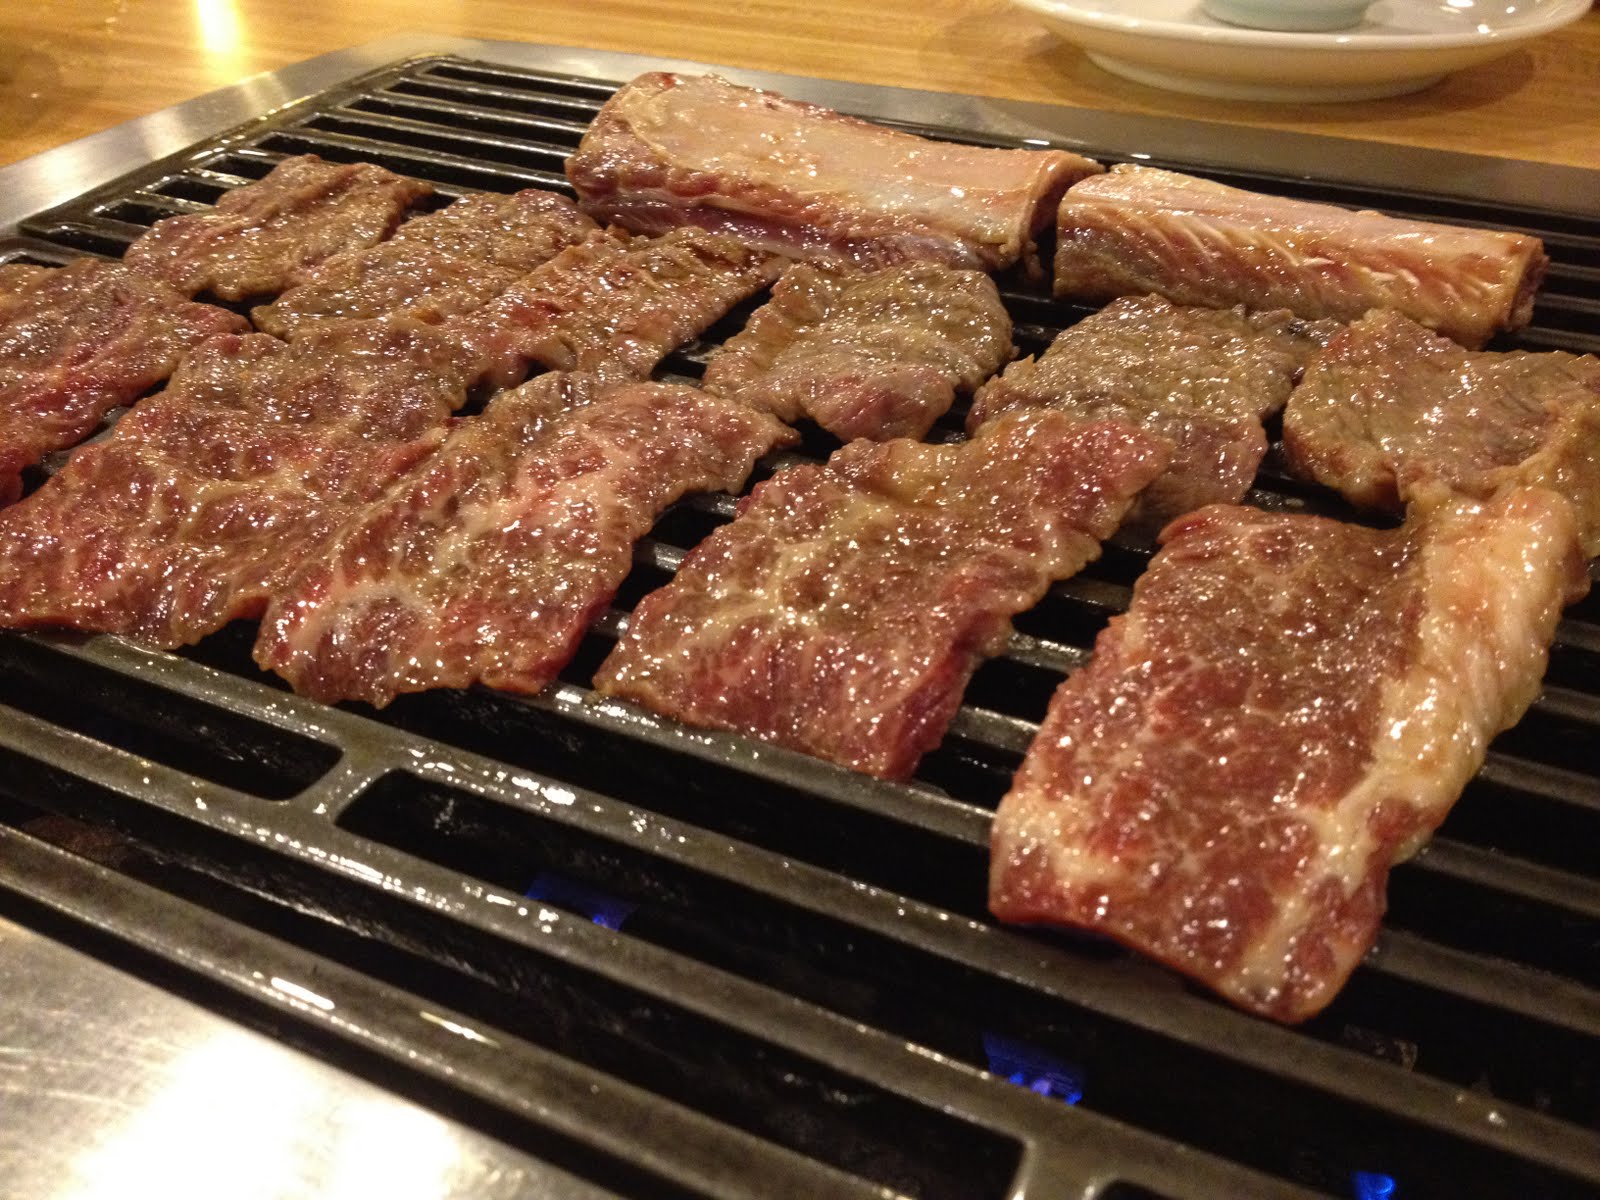 |
| Short Rib |
 |
| Assembled Wrap with Short Rib |
 |
| Assembling Wrap with Bul Go Ki |
 |
| Freedom Ranger, ready for oven |
 |
| Sunday dinner is served |
 |
| Crispy chicken skin |
 |
| Simmering chicken stock |
 |
| Oxtails from Batcheller Hill Farms |
 |
| Peeled tomatoes |
 |
| The tomato sauce, early stages |
 |
| Herb satchel, diced onion, celery, carrot |
 |
| Seared oxtails and beef bones |
 |
| Everything ready to braise |
 |
| Post-braise |
 |
| Braised sauce & tomato sauce |
 |
| All-day simmered tomato sauce |
 |
| An excellent fettuccine for our ragu |
 |
| Oxtail ragu on fettuccine, worth every scrap of effort |
 |
| Jen and Pete's Backyard Birds Pork Sausage |
 |
| Add kale to your dutch oven. |
 |
| Crazy-lookin' sweet potatoes! |
 |
| Piping hot kale, sausage, sweet potato soup |
 |
| Your ingredients |
 |
| Brussels Sprouts |
 |
| Fry up your bacon |
 |
| Brussels in bacon fat |
 |
| BBB Apple Pasta Salad |